As a yoga teacher, one of the fun parts of teaching a class is sequencing. But it can also be challenging. Or maybe you are not a yoga teacher and you have been doing your own self-practice (go you!) and would like to create your own sequences. Either way, here is a simple guide to help you learn how to sequence a peak pose in your yoga class.
We will use Wheel Pose (Urdhva Dhanurasana) as an example. First, look at the shape of the body in the peak pose. It is a backbend, with the hands and feet as the foundation of the pose. It basically looks like an upside-down U.

Urdhva Dhanurasana Wheel Pose. Photo by Margaret Young on Unsplash
Start from the foundation. Observe how the hands are placed and how the feet are positioned. Then make your way up to the shoulders, spine, hips, and legs.
From there, you can already see which parts of the body need to be warmed up and prepared before entering this pose. This is also known as identifying the component parts.
The shoulders will need to be prepared to create openness in the chest. After all, Wheel Pose is a heart-opener. Adding gentle heart openers in the warm-up segment of the class, and then building up to more progressive heart openers, helps students rise through the sternum instead of dumping into the lower back.
Examples include:
Puppy Pose (Anahatasana)
Wide-Legged Forward Fold, Variation C (Prasarita Padottanasana C)
Any asanas where the hands can be interlaced behind the torso
Shalabhasana
Sphinx Pose or Seal Pose
The spine also needs to be warmed up for full extension. Wheel Pose is considered a deep backbend. After a few rounds of Surya Namaskar, add preparatory poses (poses that are gentler but similar to the peak pose). These help introduce deeper backbends and prepare the spine for full extension.
Examples include:
Bhujangasana (Cobra Pose)
Urdhva Mukha Svanasana (Upward-Facing Dog)
Camatkarasana (Wild Thing)
Setu Bandha Sarvangasana (Bridge Pose)
Stretching the hip flexors allows for lengthening through the front body, while strengthening the hip extensors supports the engagement of the back body.
Examples include:
Utthan Pristhasana (Lizard Pose)
Anjaneyasana (Crescent Lunge)
Warrior I (Virabhadrasana I)
The movement of lifting the hips up and down helps students build familiarity before entering the full pose. It also prepares the quadriceps for the strength needed to lift and keep the hips up.
That is why Bridge Pose (Setu Bandha Sarvangasana) is usually practised before moving into full Wheel Pose.
From here, you can start to piece together the class sequence. There is no hard and fast rule for sequencing, except this: keep the warm-up gentle, progress to deeper asanas after Surya Namaskar, and once you have targeted each component part, lead the class into the peak pose.
Remember to end your class with neutralising and counterposes after the peak pose, giving students enough time to recalibrate the spine, muscles, and joints that have been worked during the dynamic part of the class.
To recap how to sequence a peak pose
Select your peak pose
Look at the foundation of the pose
Look at the shape of the body in the pose
Identify the component parts (areas of the body that need to be prepared and warmed up)
Start building the class with gentle, targeted warm-ups
Progress after the Surya Namaskar section with preparatory poses
Let students practise entering the pose through a gentler or modified version
Lead the class into the peak pose
End with neutralising and counterposes
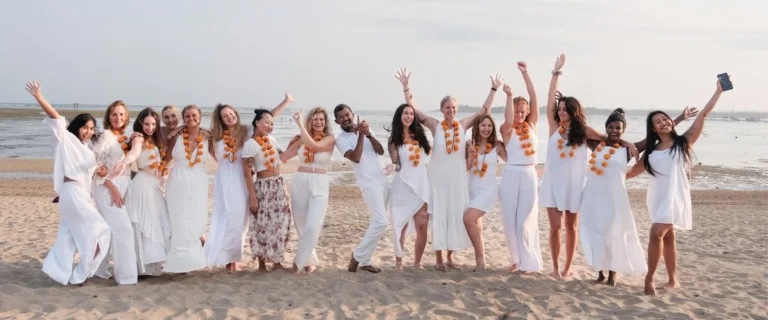
If you enjoyed reading about how to sequence a peak pose and you want to go deeper, let us know. We would love to welcome you to our Hatha Vinyasa Yoga Teacher Training in Bali.